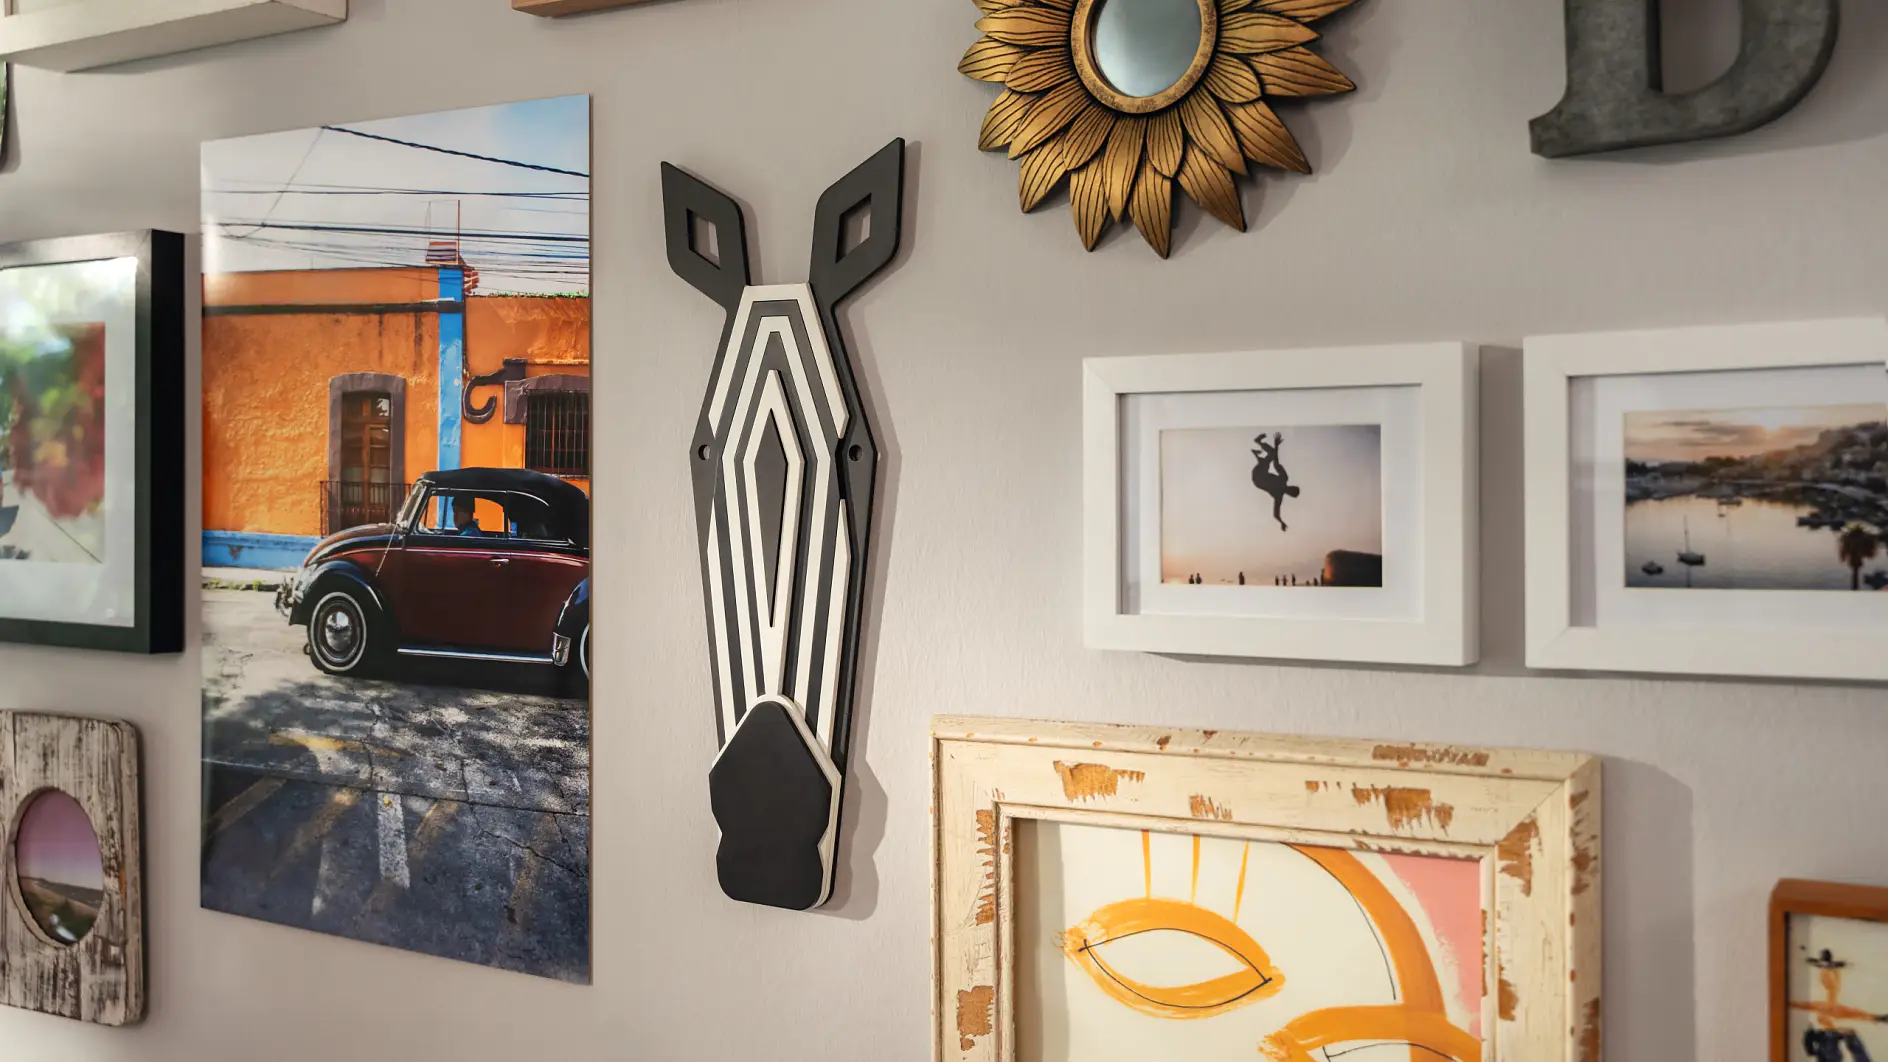
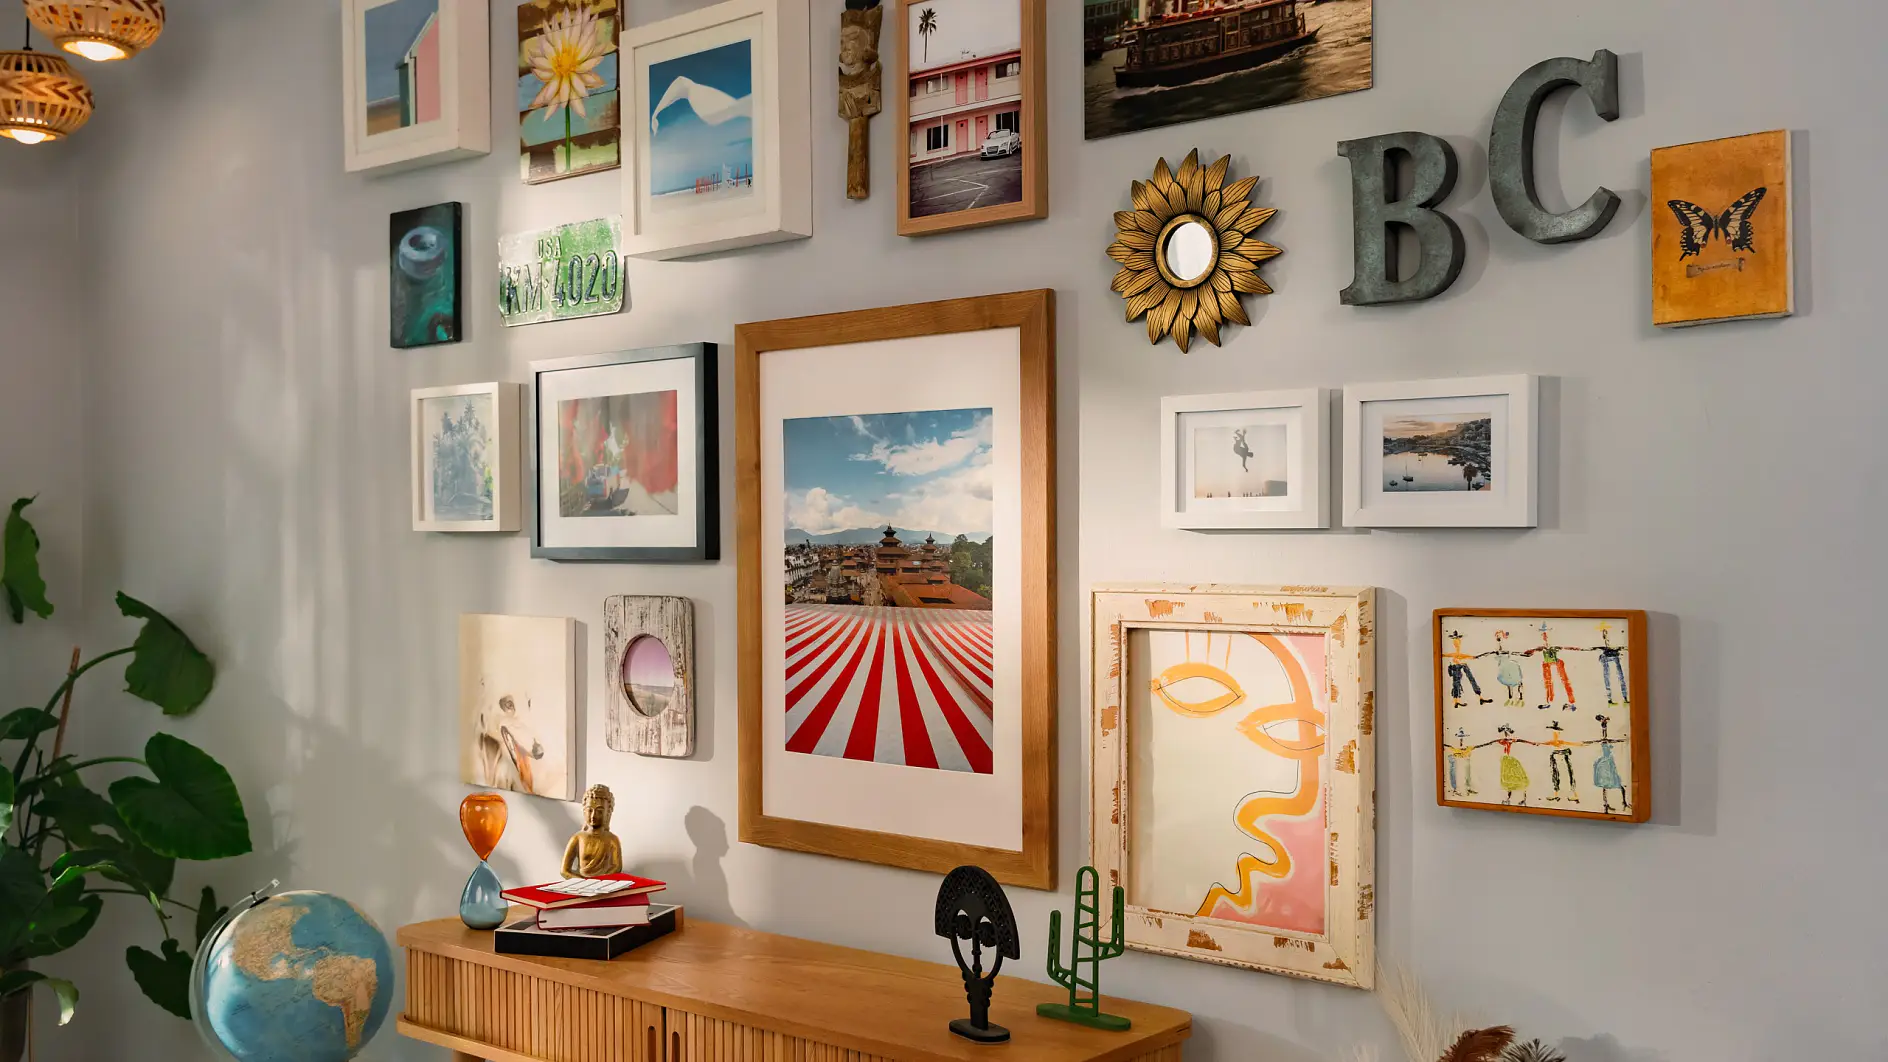
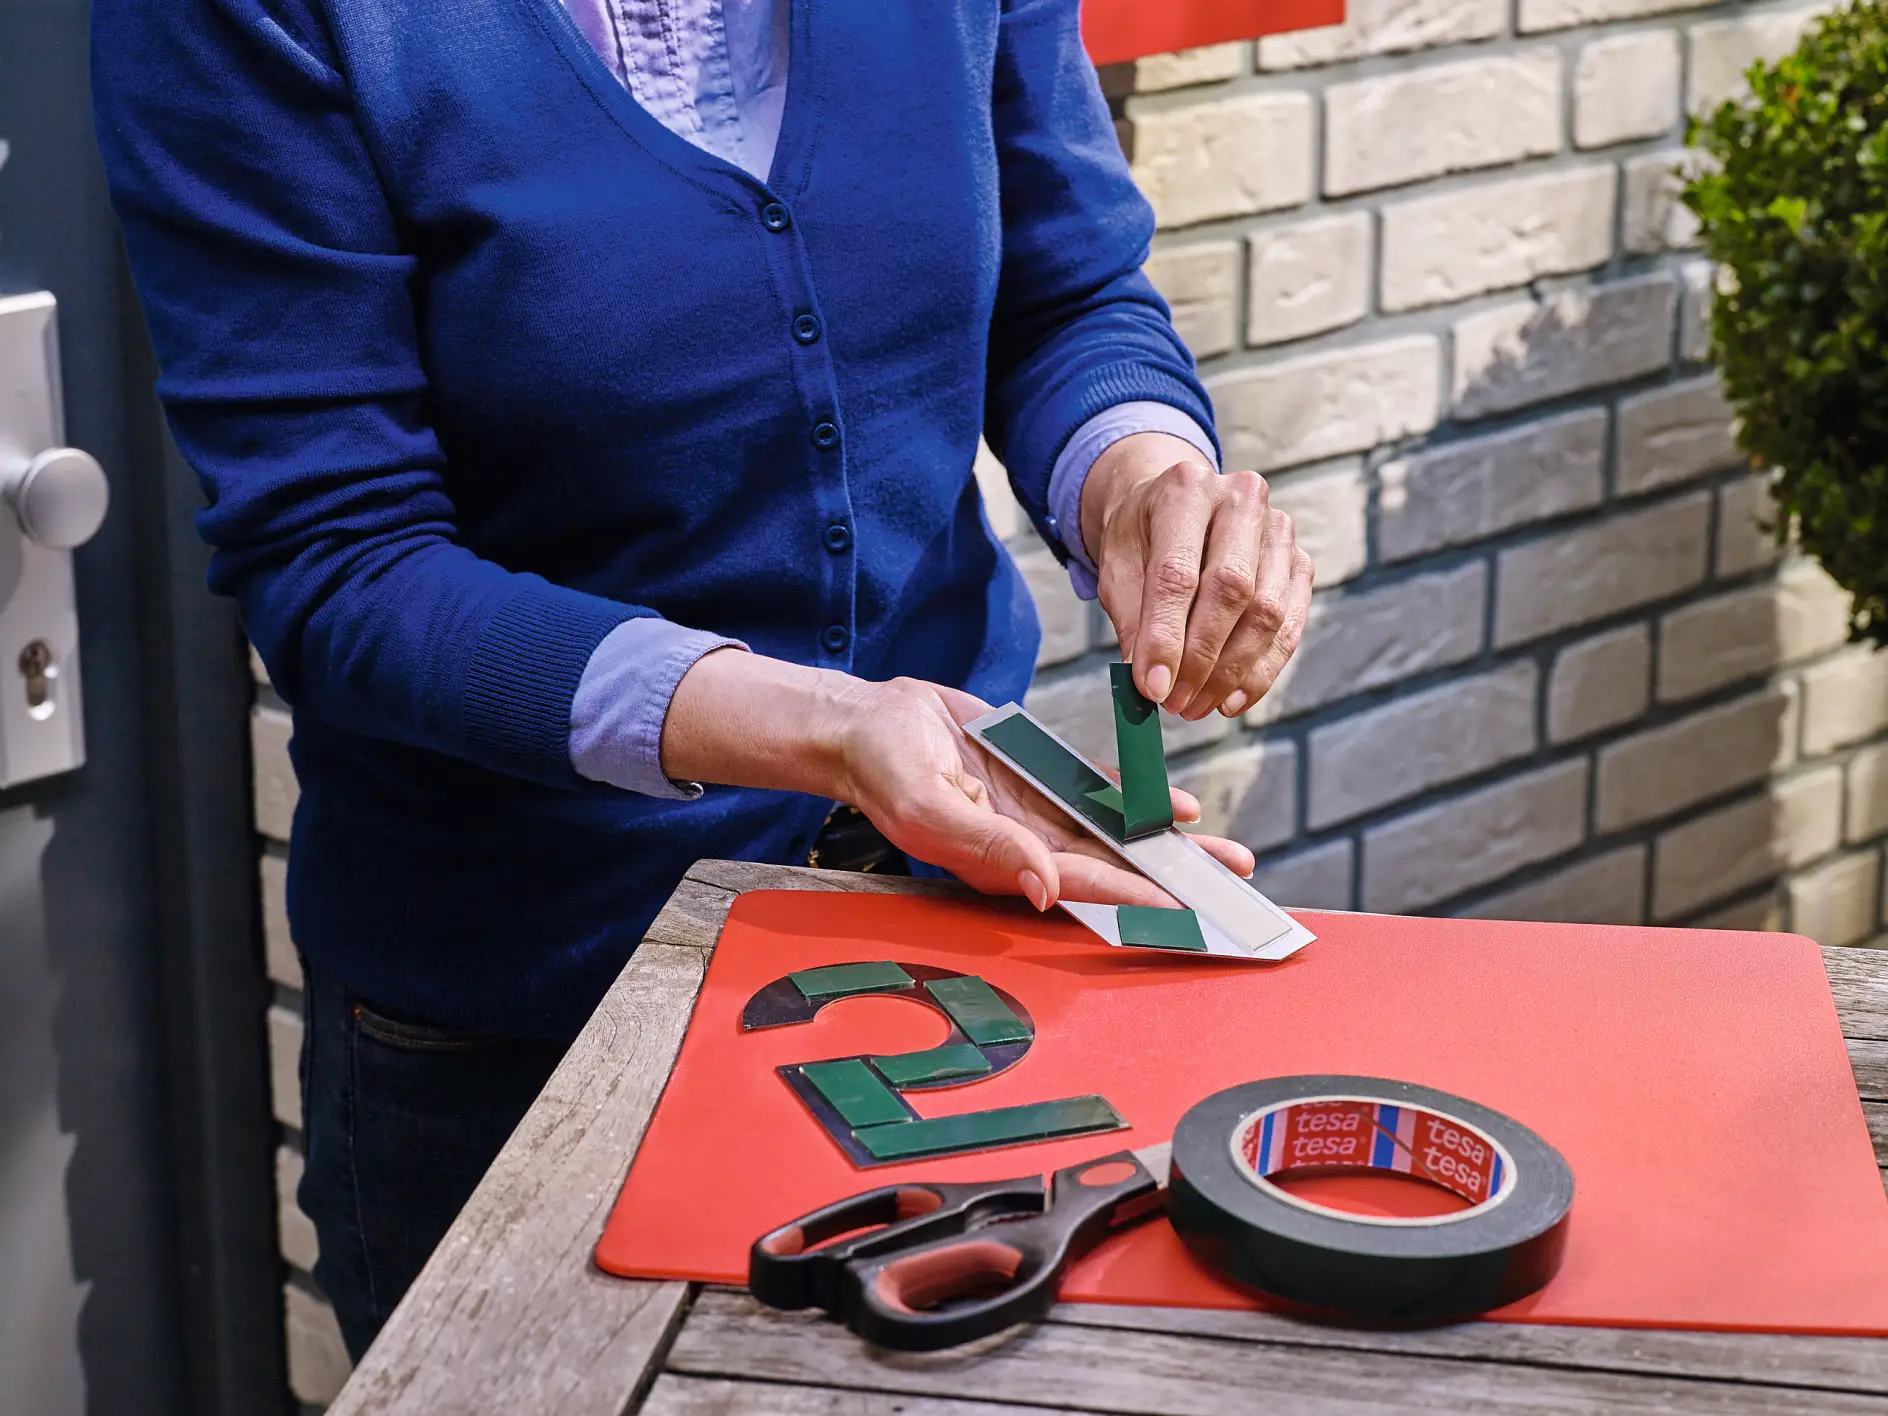
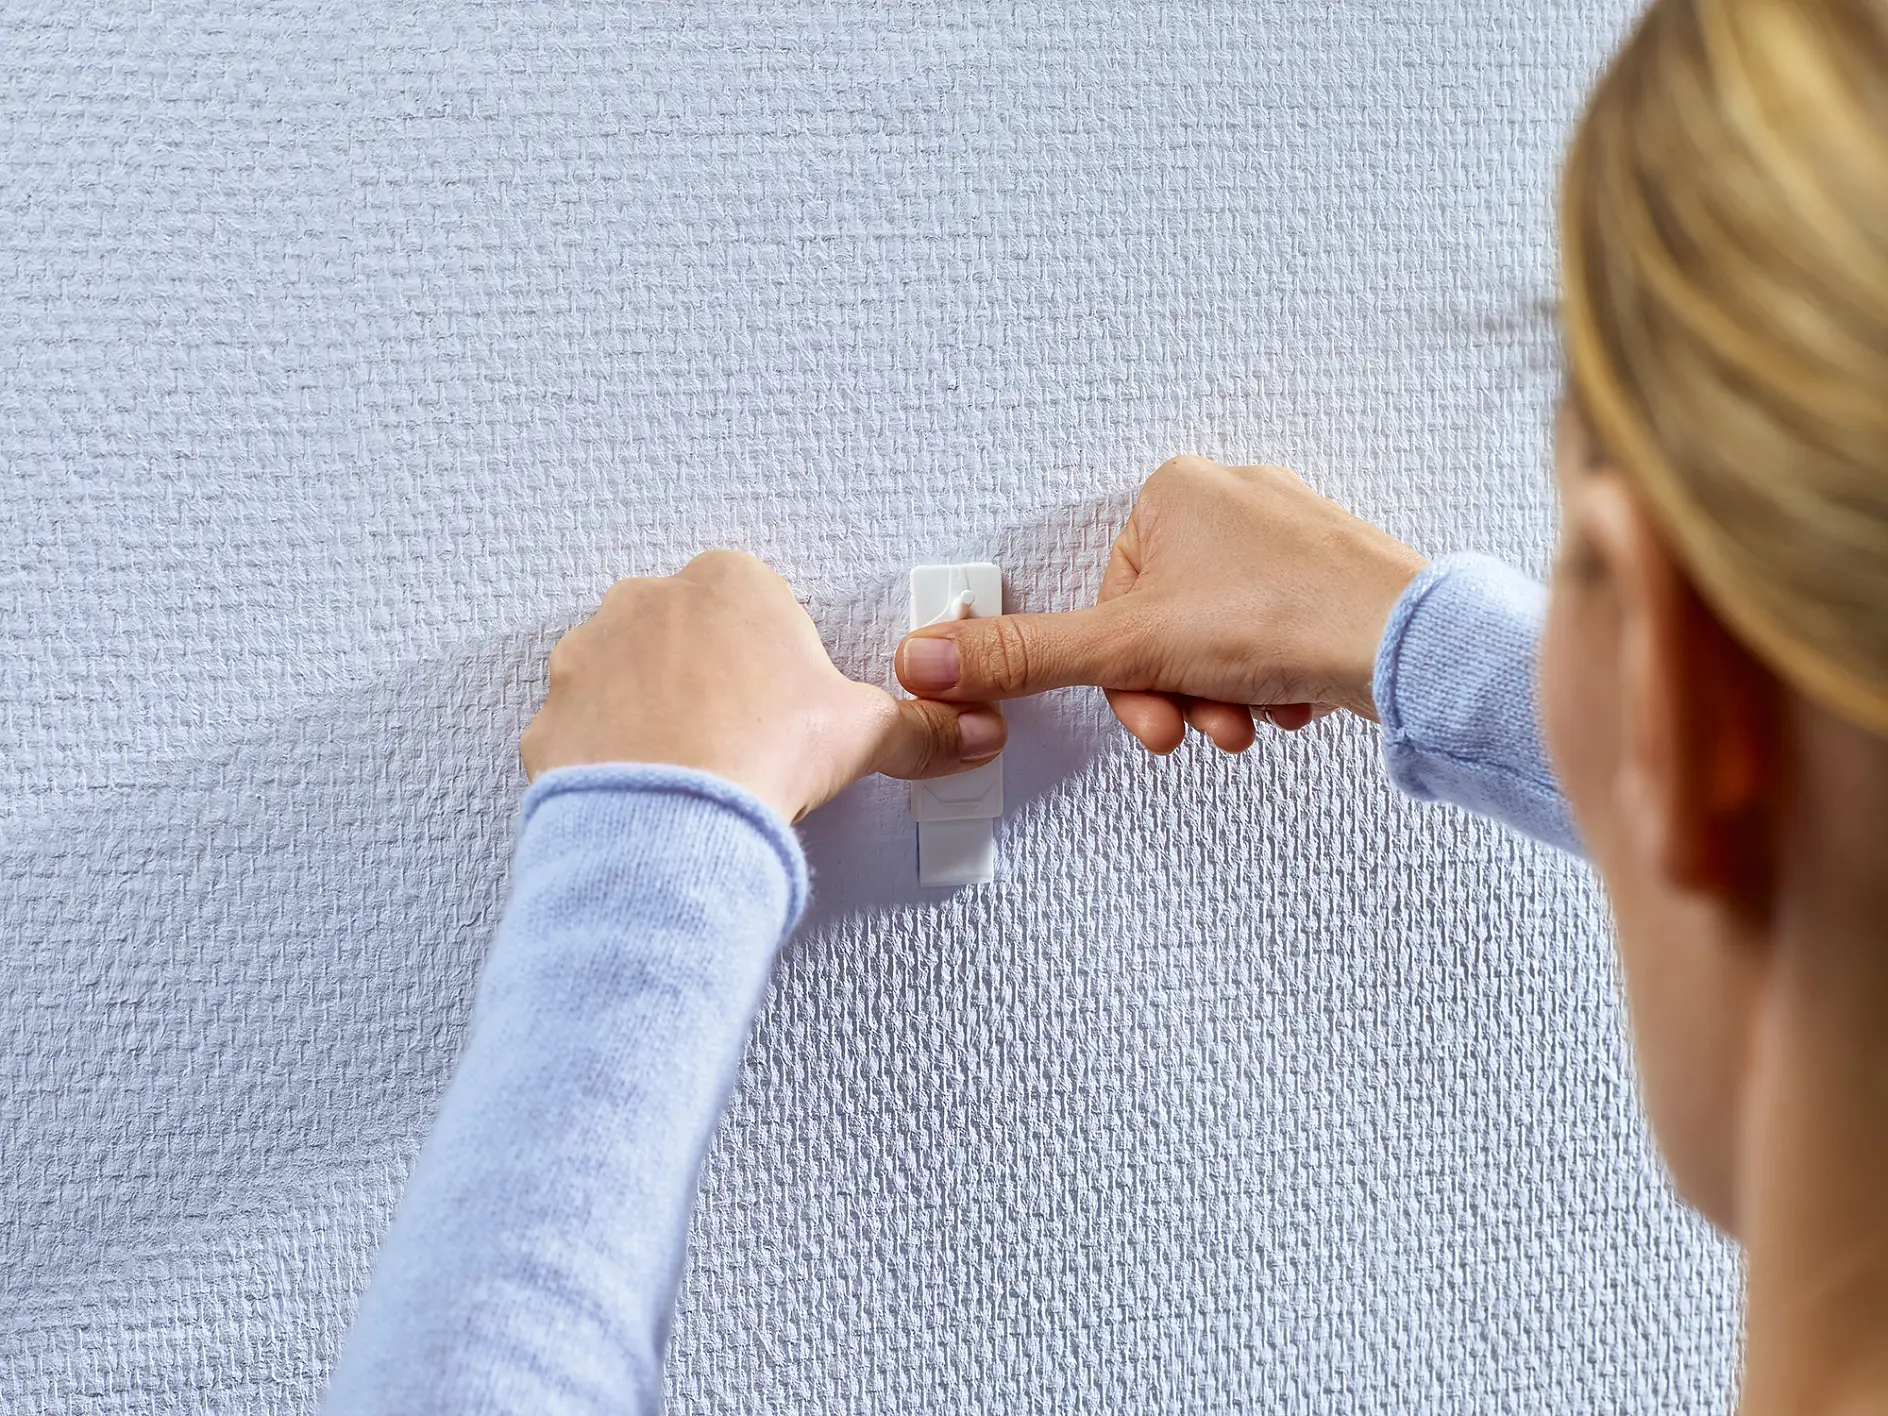
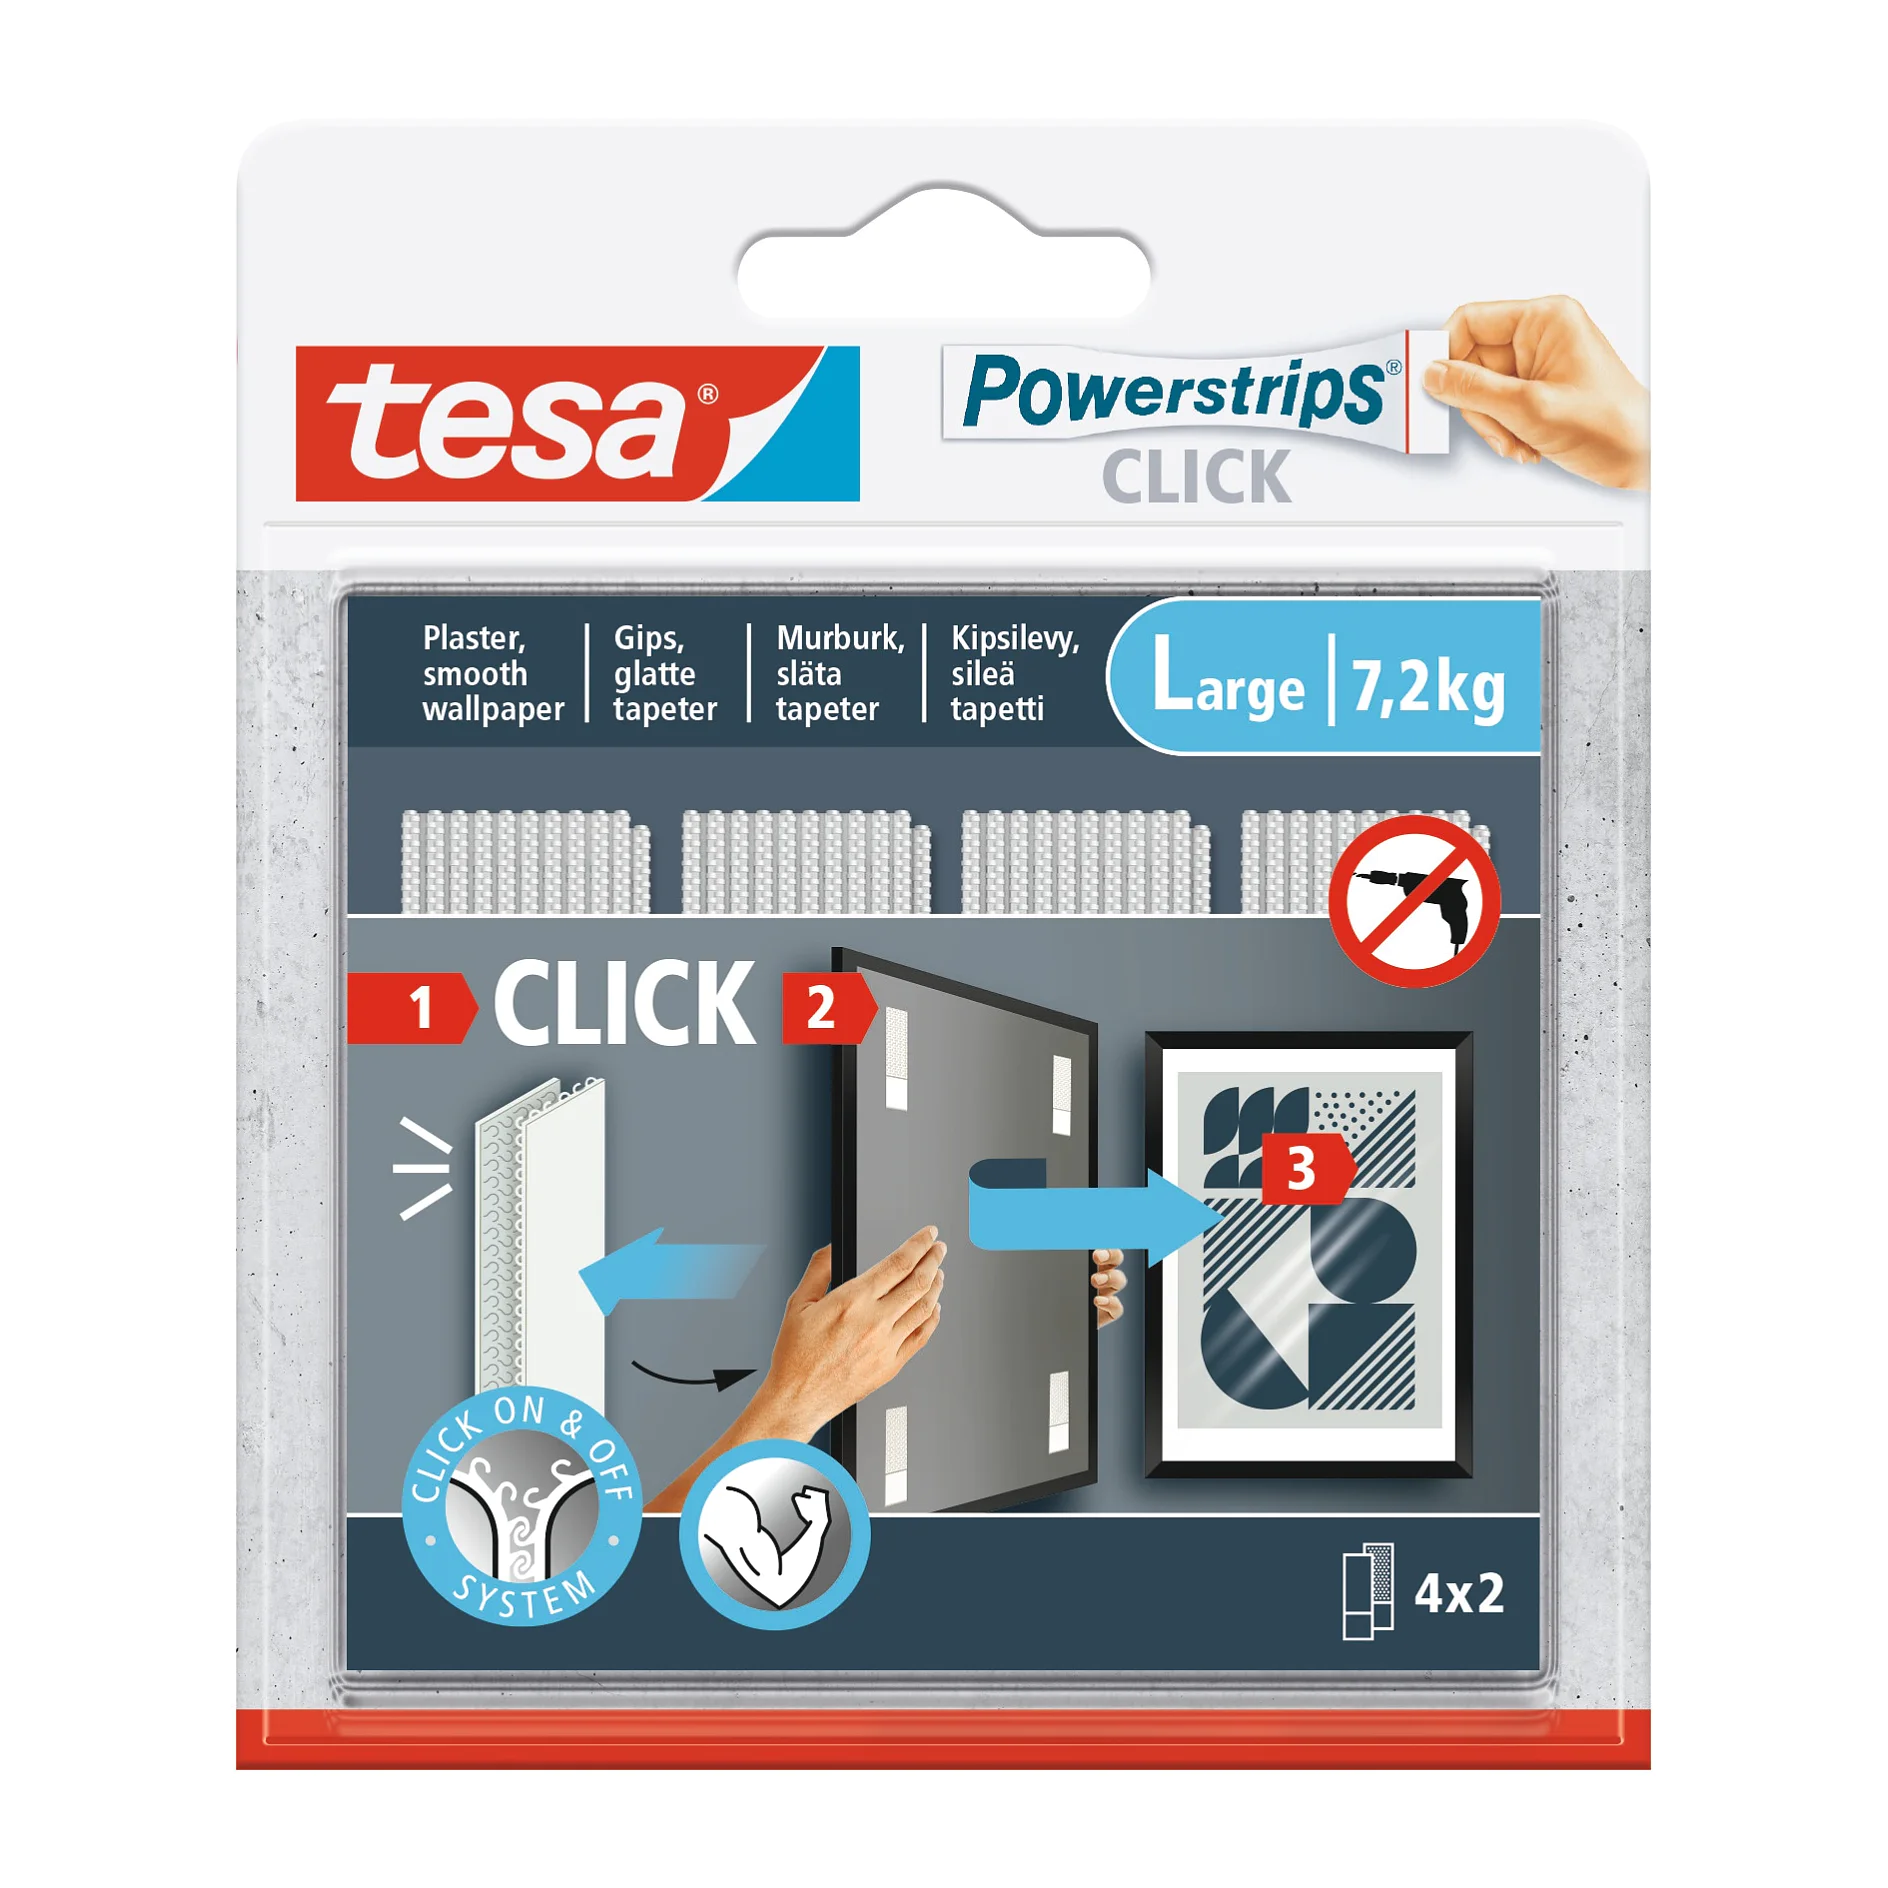
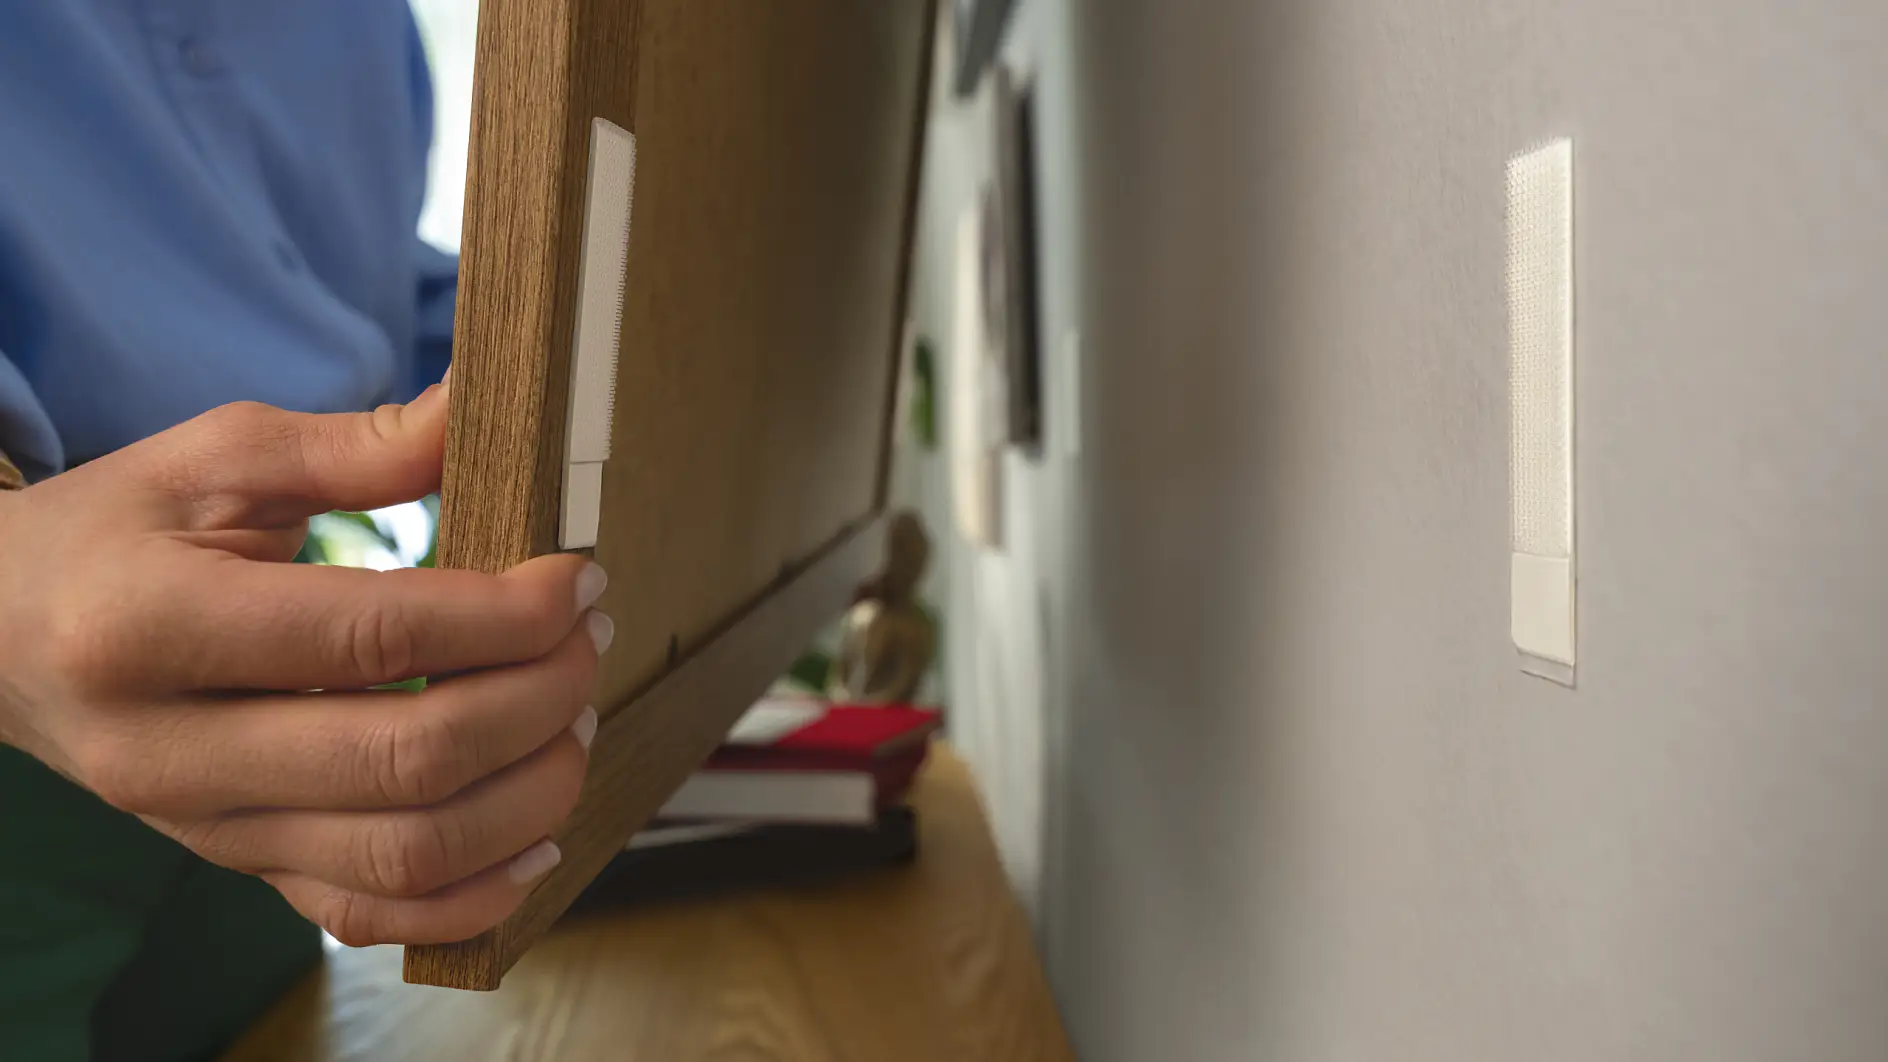
With the new Powerstrips® CLICK, you can not only quickly and without drilling attach your pictures to the wall, but also exchange them flexibly. This is ensured by the Velcro connection of the Powerstrips® CLICK. Unlike the classic Powerstrips®, the Powerstrips® CLICK are first attached to the picture or decorative element and consist of two strips together. Both strips are connected via the click system and provide a secure and firm hold. After attaching the Powerstrips® CLICK to the picture, you can attach your picture to the wall with the adhesive strips. This way, several pictures can also be hung side by side without having to measure the wall beforehand.
The Powerstrips® CLICK provide a strong and reliable hold on almost all surfaces. Nevertheless, the picture or decoration can be easily removed and replaced. So, you can effortlessly hang other pictures on the wall using the click system. It has never been easier to redesign your own walls.
If you move or want to repaint the wall, you can of course remove the Powerstrips® CLICK without leaving any residue. The Powerstrips® CLICK on the picture frame do not generally need to be removed. With a new adhesive strip on the wall, you can simply reuse the Powerstrips® CLICK.


![tesa_4042448416810_77777-00005_LI408_front_pa [en-en] tesa Smart Mounting System Adhesive Nail Adjustable 2kg Wallpaper Plaster](/en-gb/files/images/202402/2/medium-11176736,11176736_padded1x1_18.webp)
![tesa_4042448416780_77774-00005_LI408_front_pa [en-en] tesa Smart Mounting Adhesive Nail for Wallpaper, Plaster, 2 x1kg](/en-gb/files/images/202402/2/medium-11176981,11176981_padded1x1_18.webp)
![tesa_4042448416803_77776-00005_LI408_front_pa [en-en] tesa Smart Mounting system, adhesive nail for wallpaper, 2x2kg](/en-gb/files/images/202402/2/medium-11176784,11176784_padded1x1_18.webp)
![tesa_4042448537126_77779-00005_LI408_front_pa [en-en] tesa Smart Mounting System Adhesive Nail - 2kg Wallpaper](/en-gb/files/images/202402/2/medium-11181853,11181853_padded1x1_18.webp)
![tesa_4042448416773_77773-00005_LI408_front_pa [en-en] tesa Smart Mounting system, adhesive nail for wallpaper ,2 x 1kg](/en-gb/files/images/202402/2/medium-11177551,11177551_padded1x1_18.webp)
